Overview
After you have built up your resource library in Reflective, you can easily share files, links, and even entire link collections with individual patients. Assigning resources helps ensure that your patients have access to the materials they need in their mobile app. There are two primary methods to assign resources to a patient:
- From the Resource Library
- From the Patient Workbook
Method 1: Assigning from the Resource Library
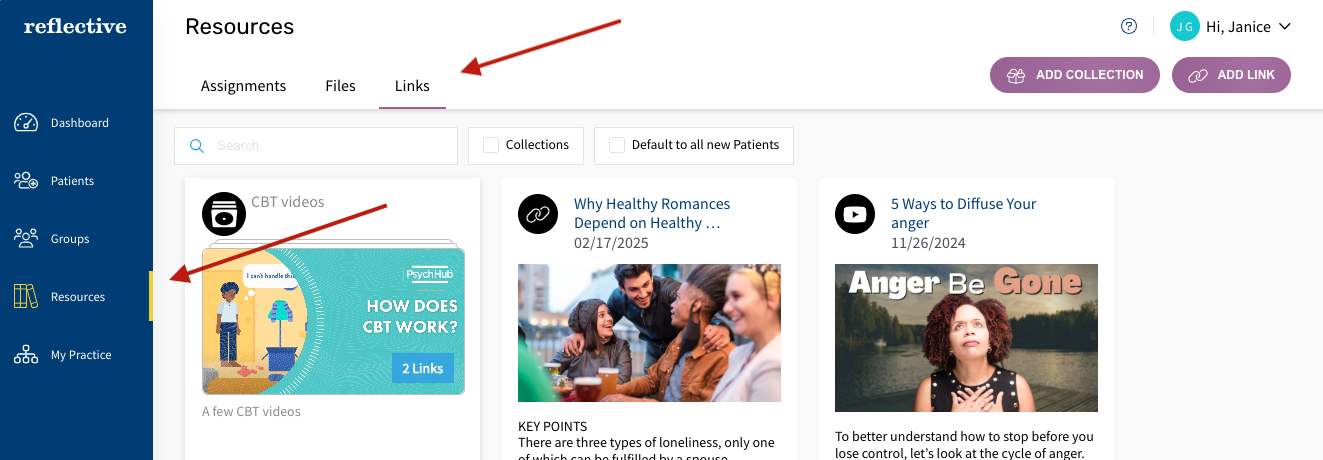
1. Access the Resource Library
Go to Resources from the main navigation. Then choose Files or Links, depending on the type of resource you wish to share.
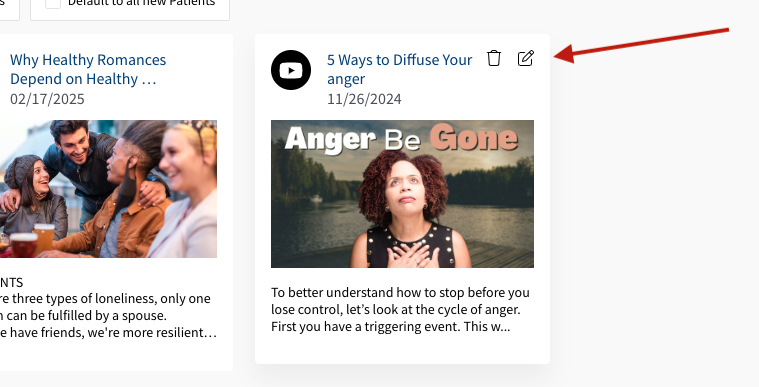
2. Select the Resource to Share
Hover over the tile of the file, link, or collection you want to assign. Then click the Edit icon.
3. Scroll to “Share with”
In the Edit Resource panel, scroll down to locate the “Share with” selector. This section displays a list of patients you can share the resource with.
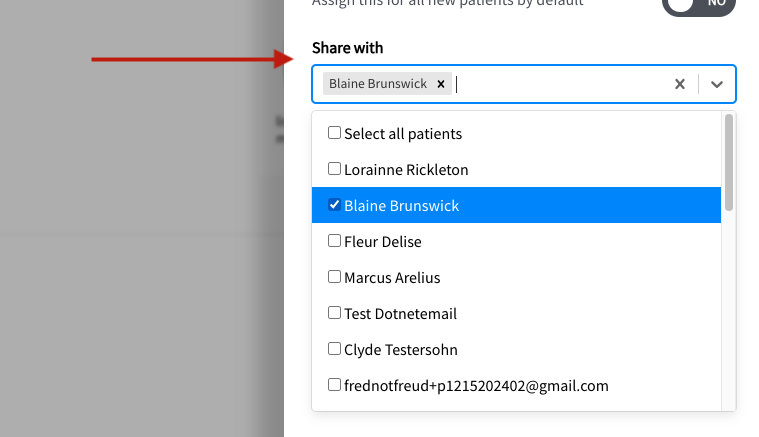
4. Choose the Patient and Save
Select the Patient you want to share the resource with and click Save.
- The resource will now appear in the patient’s workbook under their Resources tab.
- The patient can access the shared file or link in their mobile app under "Resources".
Method 2: Assigning from the Patient Profile
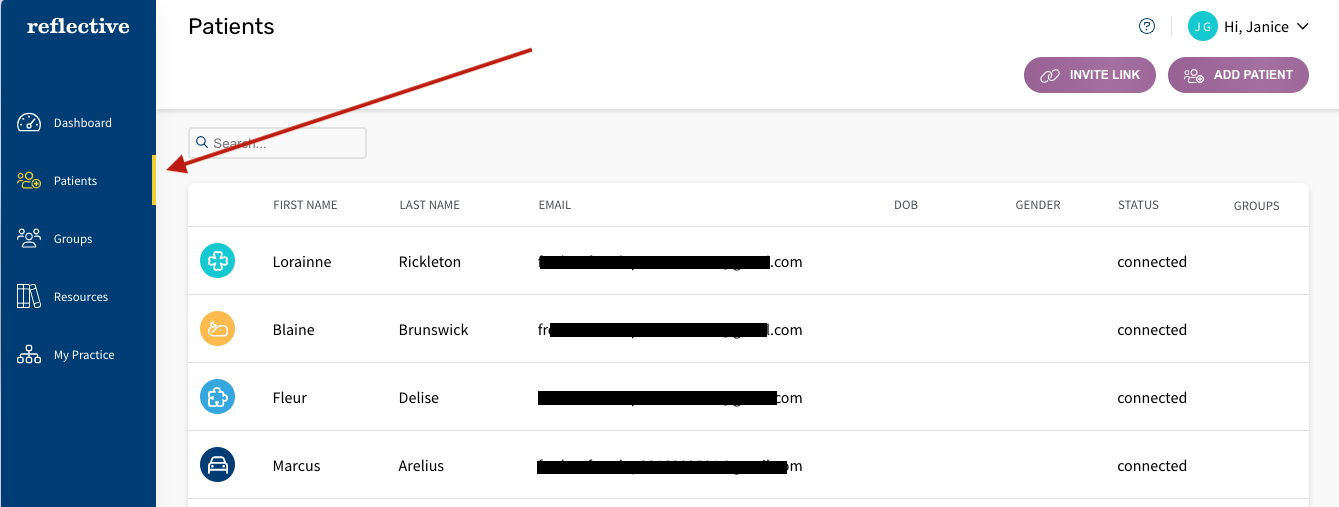
1. Open the Patient Workbook
Go to Patients from the main navigation, and search for the patient whose workbook you want to access. Click on the patient’s name to open their workbook.
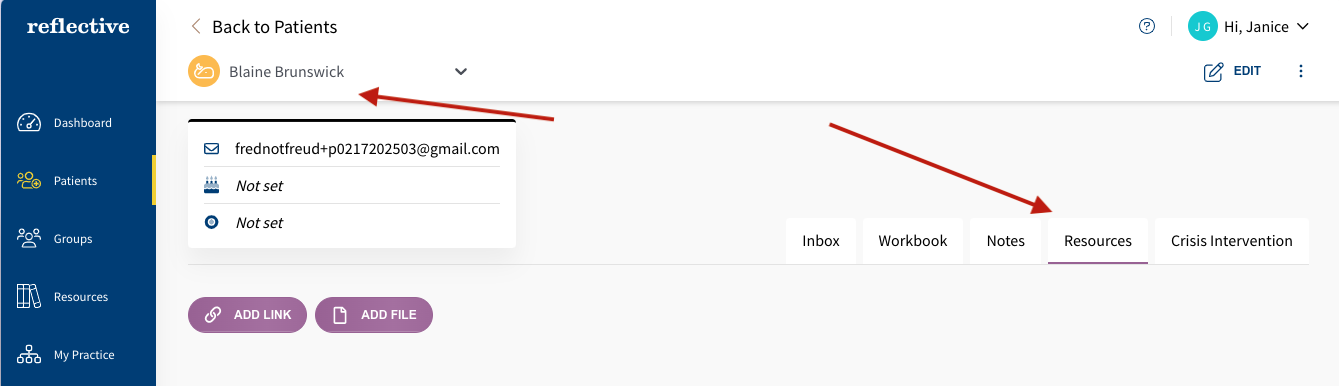
2. Navigate to the “Resources” Tab
Within the patient’s profile, select the Resources tab. This tab shows all the files, links, and collections currently assigned to that patient.
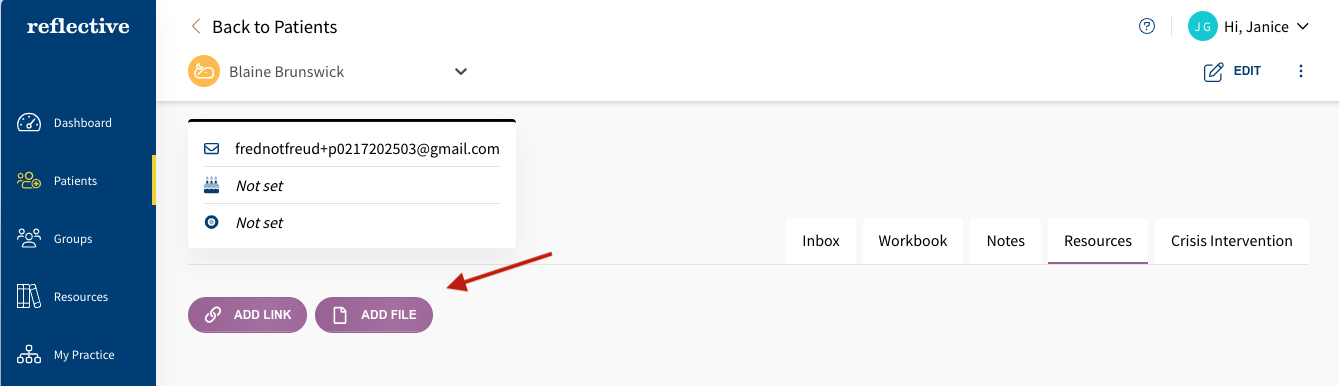
3. Click to Add a File or Link
Click the button below the tabs on the left to Add a Link or Add a File.
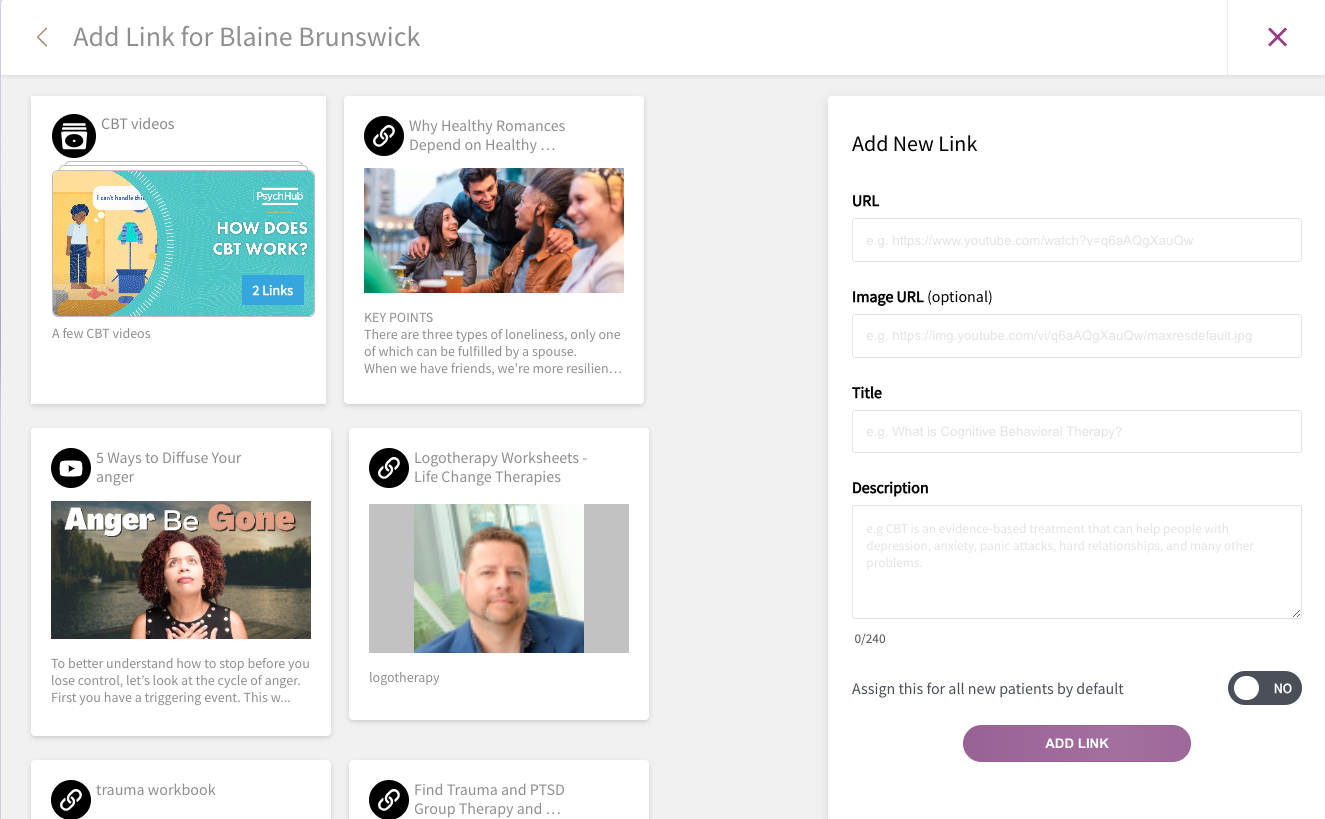
4. Choose an Existing Resource or Create a New One
- Select an existing file, link, or collection from your Resource Library.
- Or create a new file or link by using the form panel on the right. Fill in the necessary details (URL, file upload, description, etc.).
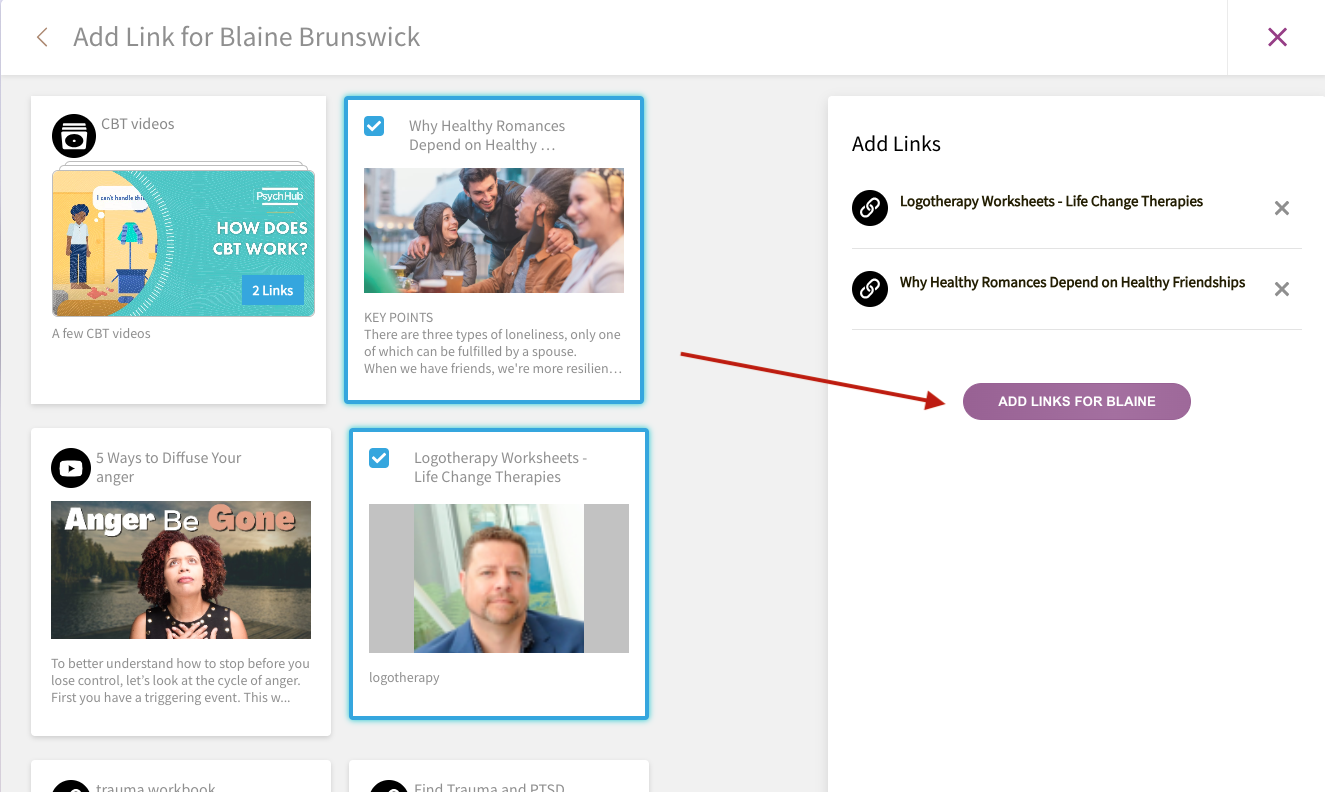
5. Save
Once you have selected or created the resource, click the "Add" button to complete adding them to the patient's workbook. The file, link, or collection will appear in the patient’s list of resources and will be visible on their mobile app under Resources.
Assigning files and links to a patient ensures they have quick access to the materials you consider most relevant for their treatment plan. You can manage these resources at any time from either the Resource Library or directly within the Patient Workbook.