Overview
Reflective makes it simple to bring new patients into your practice. You can either share a unique invite link (or QR code) that patients can use to self-onboard, or manually add patients one by one. Once a patient is added, you can immediately start assigning resources and tracking their progress in Reflective.
(Or, if you've set assignments and content to be available by default, for all new users, then patients who self-onboard with your invite link will immediately have access to these resources.)
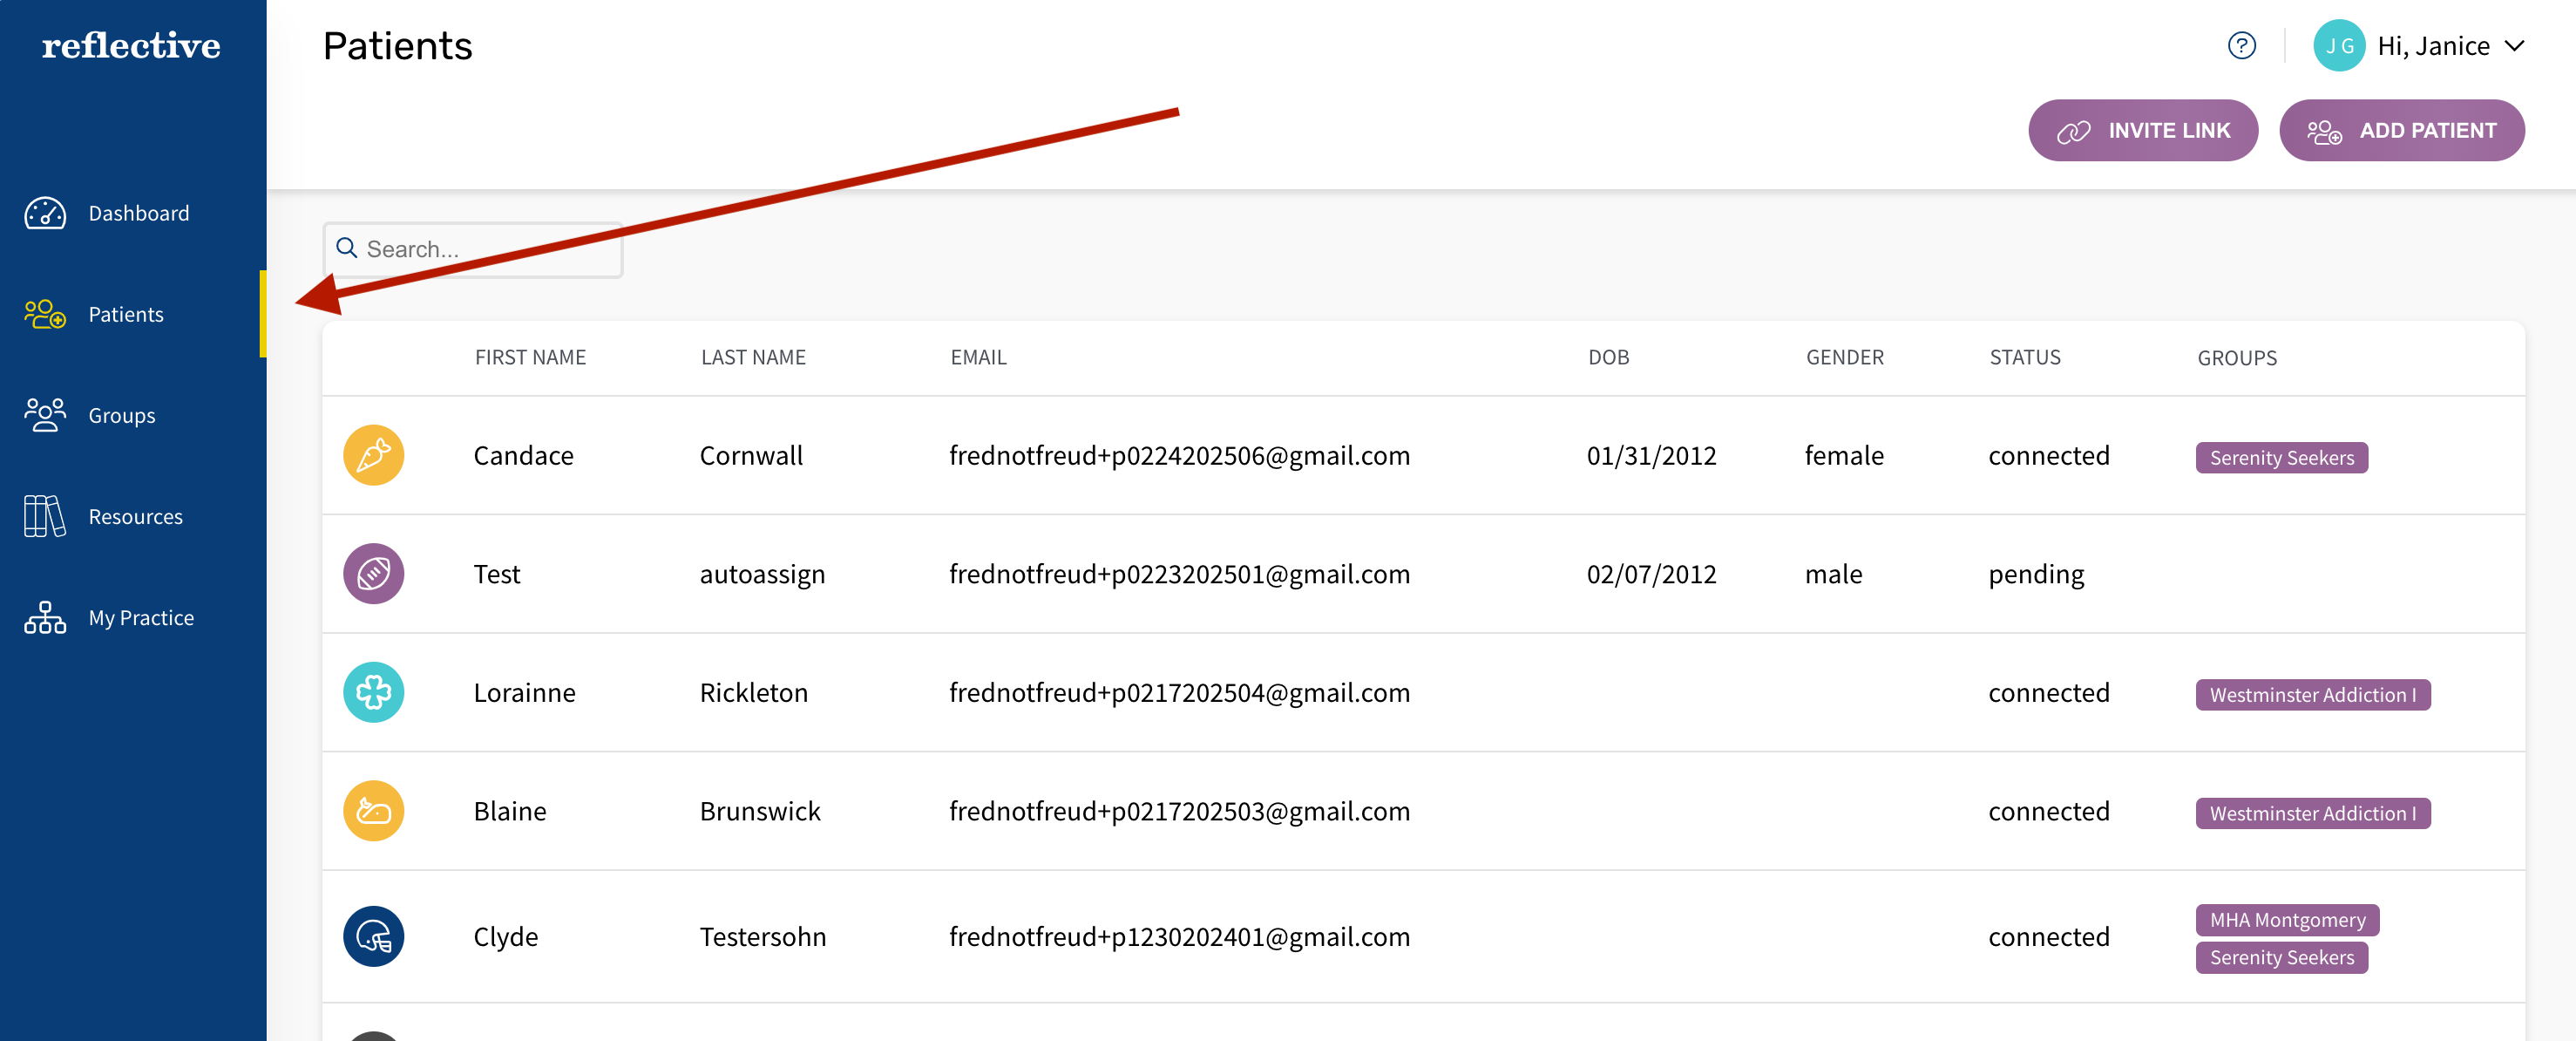
Accessing the “Patients” Section
From the main navigation, click Patients. This page lists all active patients, with options to add new ones or manage existing records.
Methods to Add New Patients
Share an Invite Link

- Click Invite Link in the toolbar at the top of the Patients page.
- Generate your QR code if you haven’t already.
- Choose one of the following share methods:
- Print: Create a printable version of the QR code. Display it in your office so patients can scan and instantly connect with you.
- Link: Open a shareable URL that you can send via email, WhatsApp, or other channels.
- Copy: Copy the URL to your clipboard to paste anywhere you like.
- Delete: Remove the current QR code if it’s being misused. You can generate a new one later.
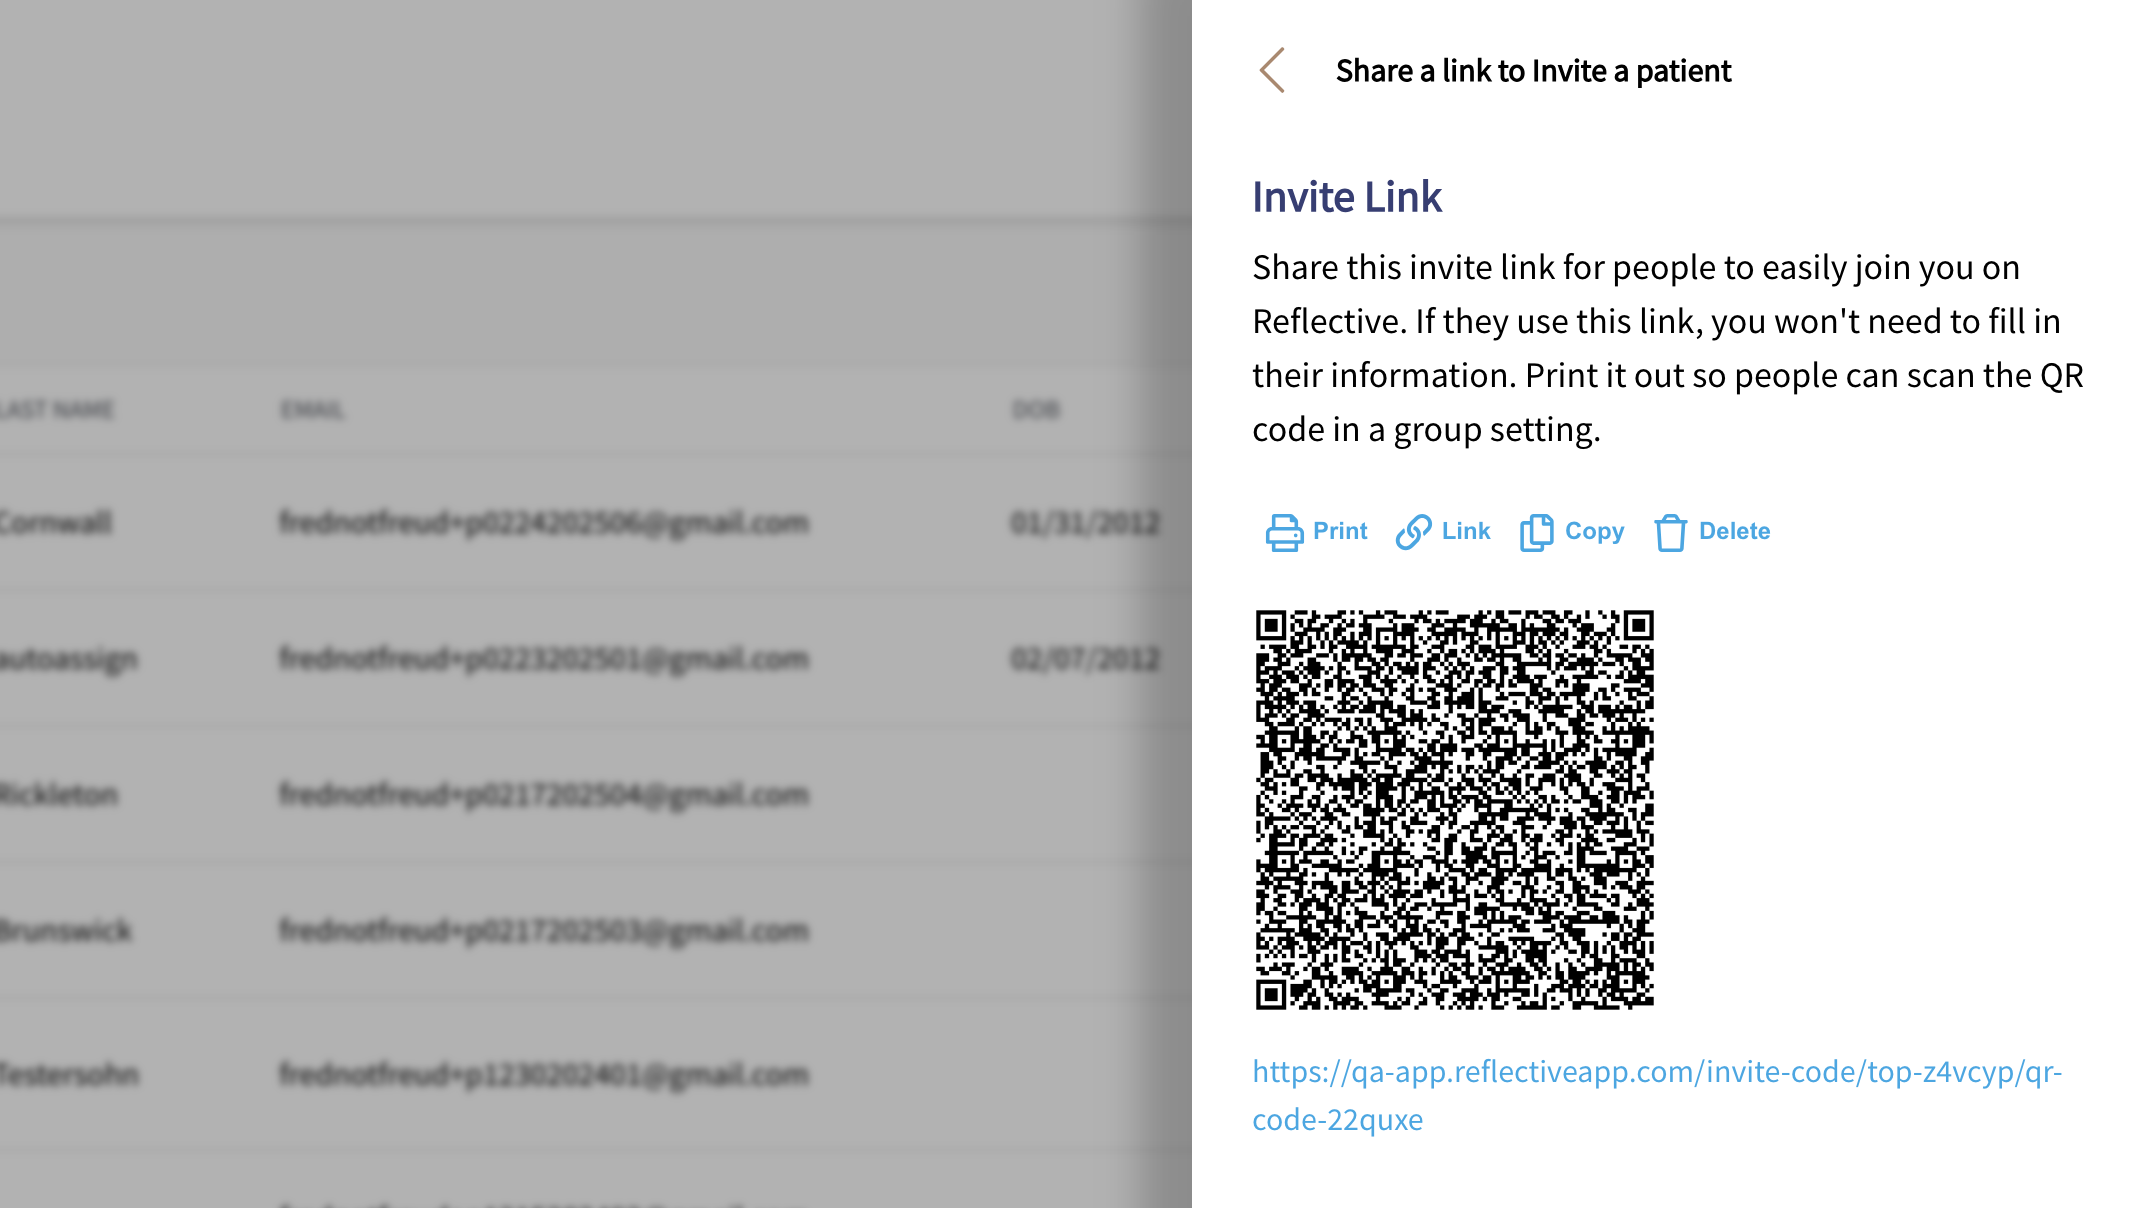
Why Use an Invite Link? Including this link or QR code in your intake materials or printing it in your office makes onboarding effortless. Prospective patients can self-register on their own devices, saving you time and administrative work.
Add a Patient One at a Time

- Click Add Patient in the toolbar at the top of the Patients page.
- Enter the patient’s basic information in the side panel (e.g., name, email).
- The patient will receive an email invite to join Reflective.
- After saving, you’ll be directed to their Workbook tab, where you can begin assigning resources.
Managing Patient Records

Edit a Patient: In the patient’s profile, click Edit from the toolbar at the top-right to edit their profile information.
Delete a Patient: Click the overflow (kebab) menu icon (three vertical dots) and select Delete. Confirm to finalize.
Note: This action cannot be undone!
With Reflective’s flexible onboarding options, you can quickly expand your practice and ensure new patients have immediate access to their therapy resources.