Overview
The Workbook is where you assign interactive materials for patients to complete between sessions. These include worksheets, infosheets, and assessments that reflect the therapeutic content you wish to share. By contrast, Resources are a separate section for static files, links, or external content. Learn more about adding resources here.
Steps to Add Assignments
1. Open the Patient Profile
Go to Patients from the main navigation, then select the patient you want to work with. If you’re opening a patient’s profile for the first time, you’ll land on the Workbook tab. Otherwise, you may see the Inbox tab first. [Learn more about the Inbox here]
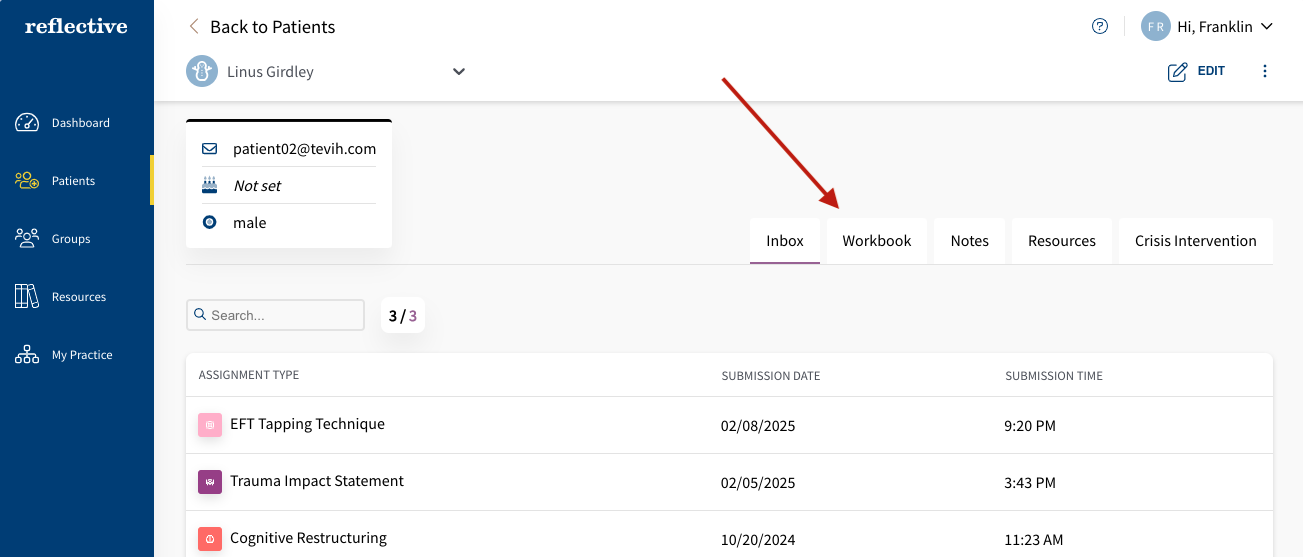
If you’re not already on the Workbook tab, click Workbook to begin adding assignments.
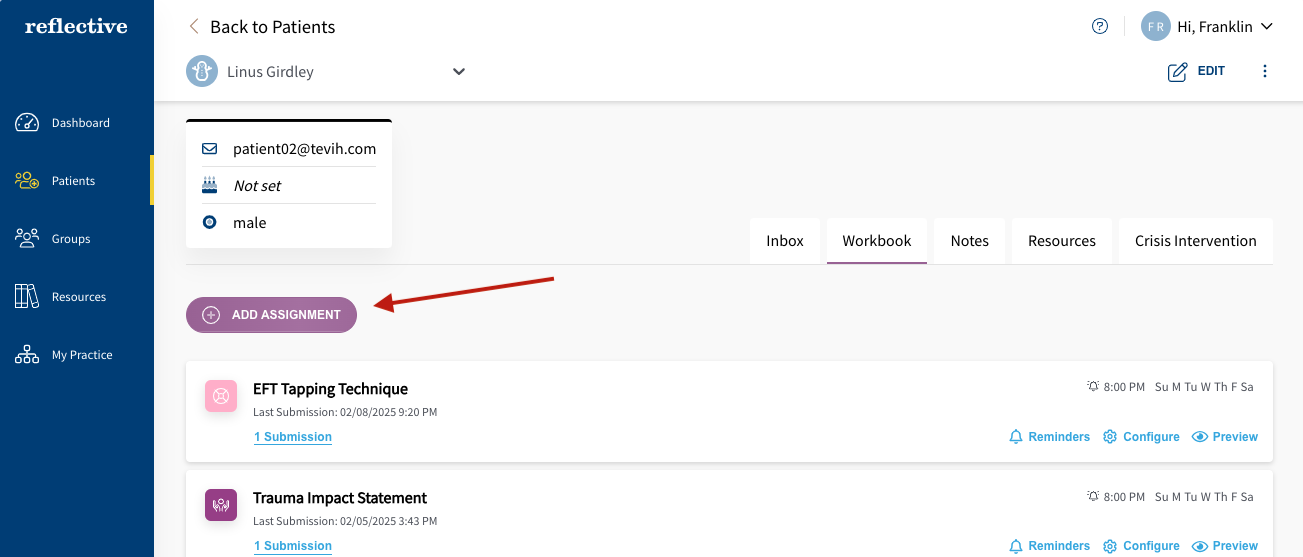
2. Click “Add Assignment”
Click the Add Assignment button in the left of the Workbook tab.
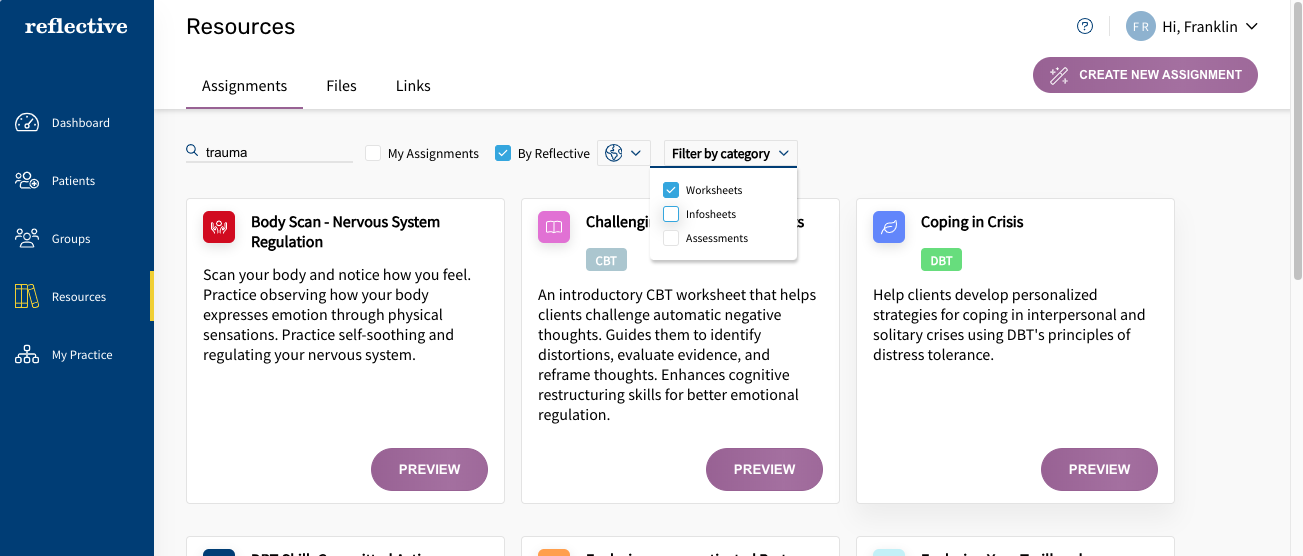
A full-screen view will show the assignments in your library. You can narrow down this list using the search and filter tool. Search by:
- Modality (CBT, DBT, psychoanalytic, etc.)
- Disorder (depression, anxiety, trauma, PTSD, etc.)
- Assignment Type (Worksheet, Infosheet, or Assessment)
If you want to see only your custom assignments, uncheck By Reflective and leave My Assignments checked.
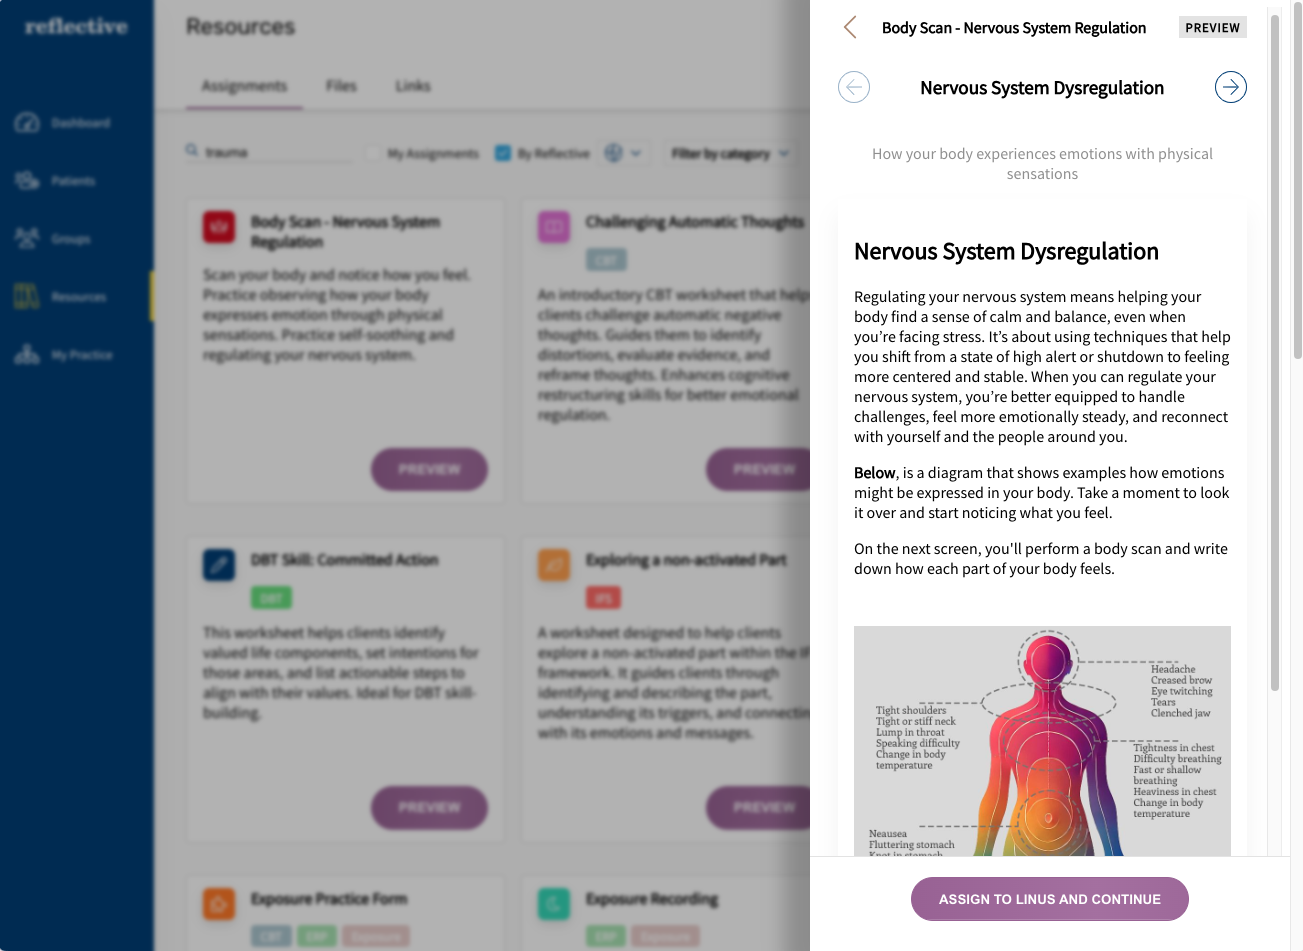
3. Preview the Assignment
When you find an assignment you want to add, click Preview to look it over. If the assignment has multiple pages, you can use the next/previous arrows at the top to navigate through all pages.
4. Assign to the Patient
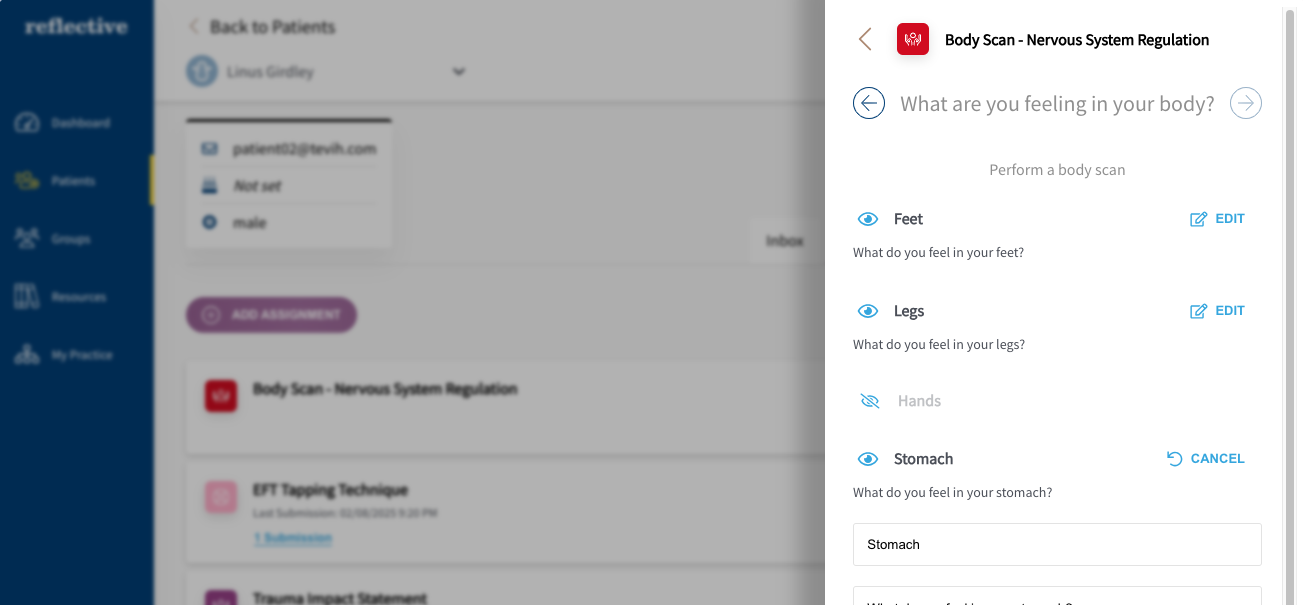
To proceed with the assignment, click the button at the bottom of the preview to Assign it. You’ll be taken back to the patient’s profile, where you can configure field labels and decide which fields should be visible. (You can’t edit informational text on this screen.) Use the next/previous arrows again to move through all pages of the assignment if you want to customize any labels. [Learn more about configuring an assignment’s field visibility and labels here]
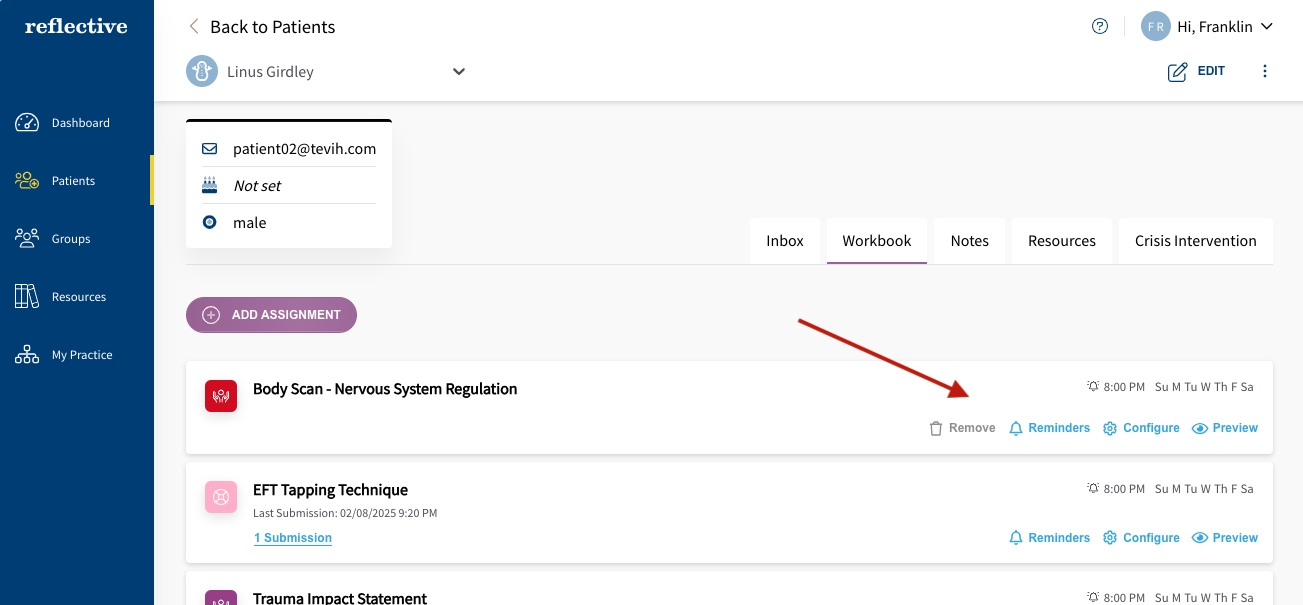
5. Review the Assigned Worksheet
You’ll see the newly assigned worksheet, infosheet, or assessment in the patient’s Workbook, and it will appear in their app. Default reminder times are active, and you’ll have options to:
- Remove the Worksheet (only if the patient hasn’t created any submissions)
- Set Reminders
- Configure Field Labels & Visibility
- Preview the Assignment
Patients can now begin working on the assignment, with reminders sent according to your default or customized schedule.