Adding Files and Links to Your Resource Library
Your Resource Library is the central hub where you can store assignments, files, and links that you’d like to share with your patients (individually or in groups). [Learn more about Assignments] This is especially useful when you want to quickly share resources, such as PDFs, videos, articles, or images, during or after a therapy session. By having your files and links stored in one convenient place, you can save time and ensure that important materials are always accessible for patient care.
Why Use the Resource Library?
- Easy Sharing: Once a file or link is in your Resource Library, you can assign it to any patient or group with just a few clicks.
- Time Savings: No need to search for a resource every time you need it. Everything is stored and organized in one place.
- Better Patient Engagement: Patients can easily access shared resources from their mobile app, increasing the likelihood that they will use and benefit from the materials.
- Organized Record-Keeping: Keep track of all your valuable resources—like psycho-educational PDFs, worksheets, or helpful website links—so you know exactly what you’ve shared and can update or remove items as needed.
Adding Files
1. Navigate to Resources
Select Resources from the main navigation. Next, select the Files tab.
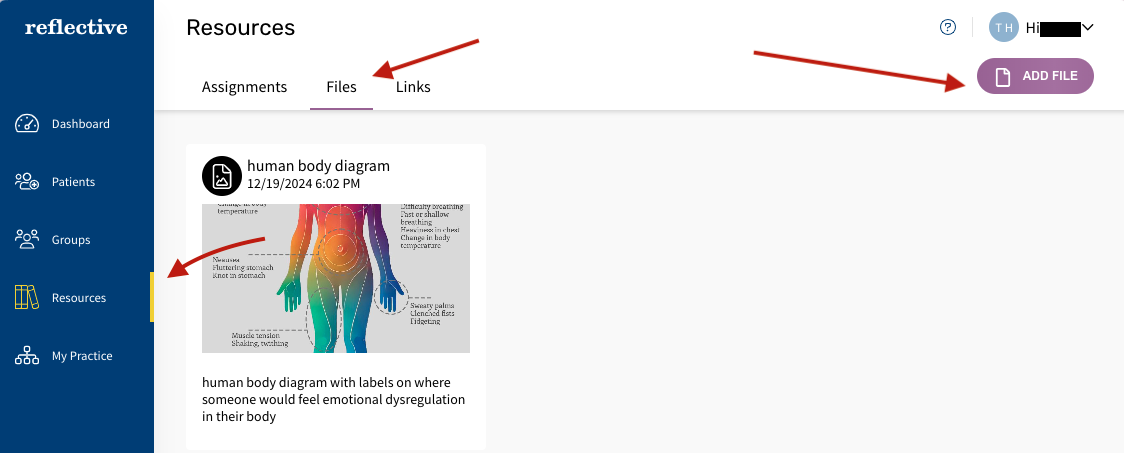
2. Click “Add File”
In the toolbar, you’ll see an Add File button. Click on it to begin uploading a new file.
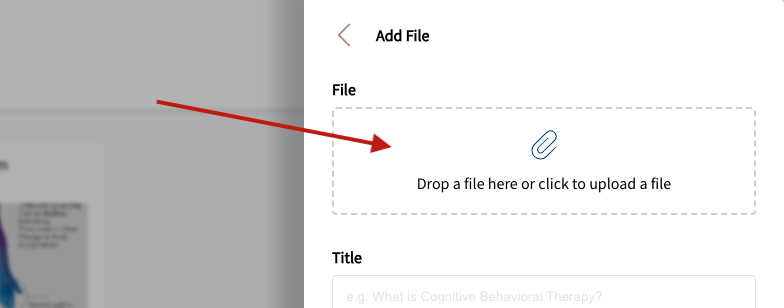
3. Upload Your File
Click the paperclip icon or drag the file from your computer into the dotted upload box. The platform typically supports standard file formats (e.g., PDFs, JPGs, PNG). Make sure your file is within the allowed 2MB size limit.
4. Provide a Title and Description
Once the file is uploaded, give it a clear, descriptive Title so both you and your patients know exactly what it is. Add a Description to help patients understand the purpose or contents of the file.
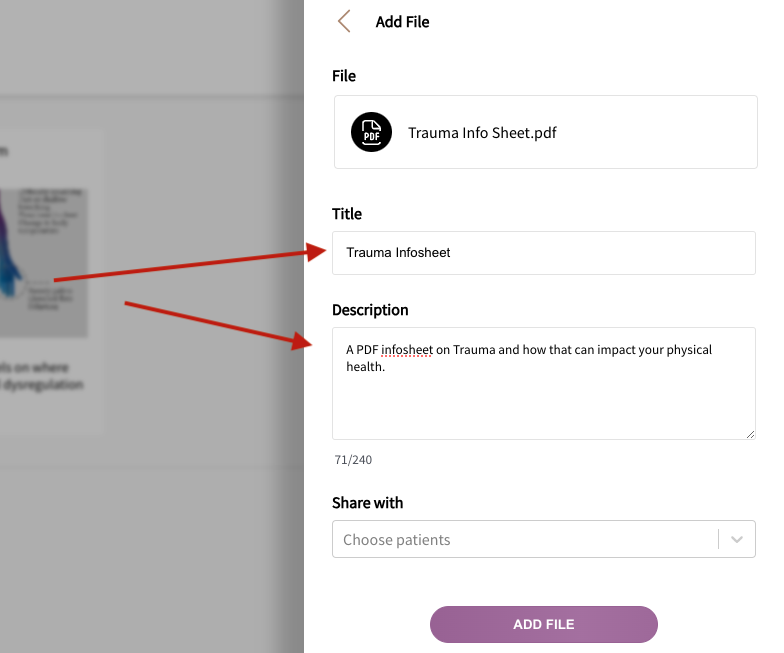
5. Choose Patients to Share With (Optional)
Select the patients you want to share the file with immediately, or you can assign it later. You can assign to Groups from within the group workbook. Patients, or group members with whom you’ve shared the file will see it in their Resources tab in their mobile app.
6. Click “Add File”
When you’re satisfied with the details, click Add File. The file is now stored in your Resource Library.
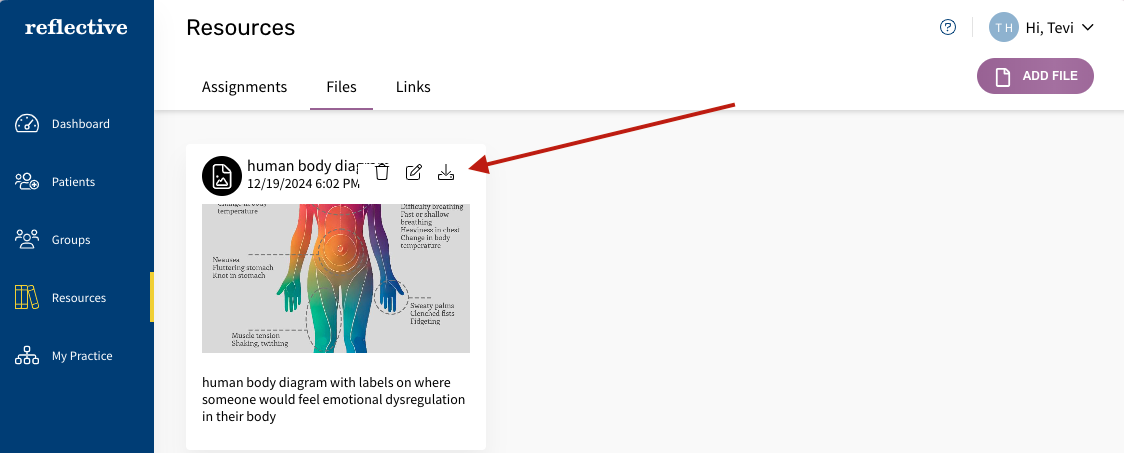
7. Edit, Delete, or Download Files
Hover your mouse over the file tile to see action icons in the top-right corner. Use the writing pencil icon (Edit) to update the title, description, or assigned patients. Use the trash bin icon (Delete) to remove the file from your library and from all assigned patients. Use the download icon to save a copy of the file to your computer.
Tips for Adding Files
- Use clear, descriptive titles (e.g., “CBT-Workbook-Part1.pdf”).
- Include key points or instructions in the description so patients know how to use the file.
- Maintain a consistent naming convention to keep files organized and easy to find.
Adding Links
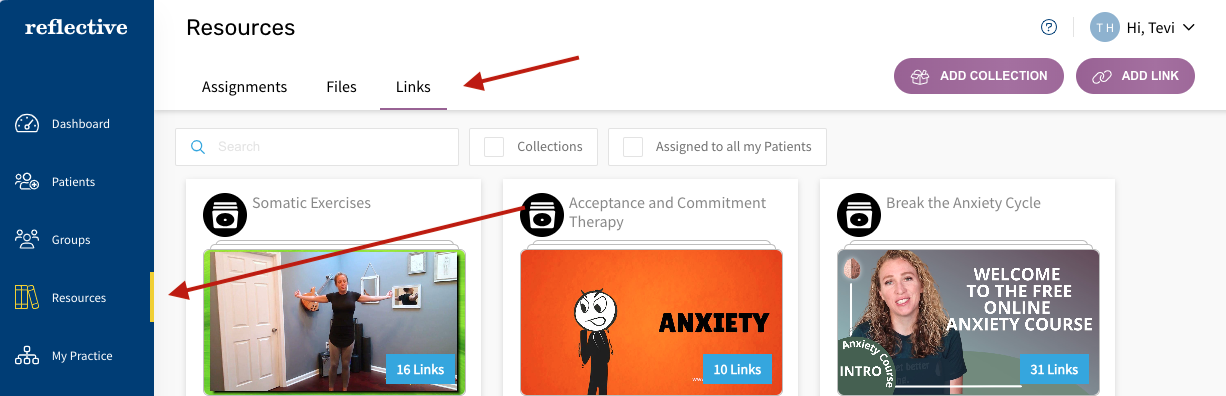
1. Navigate to Links
Go to Resources, then select the Links tab.
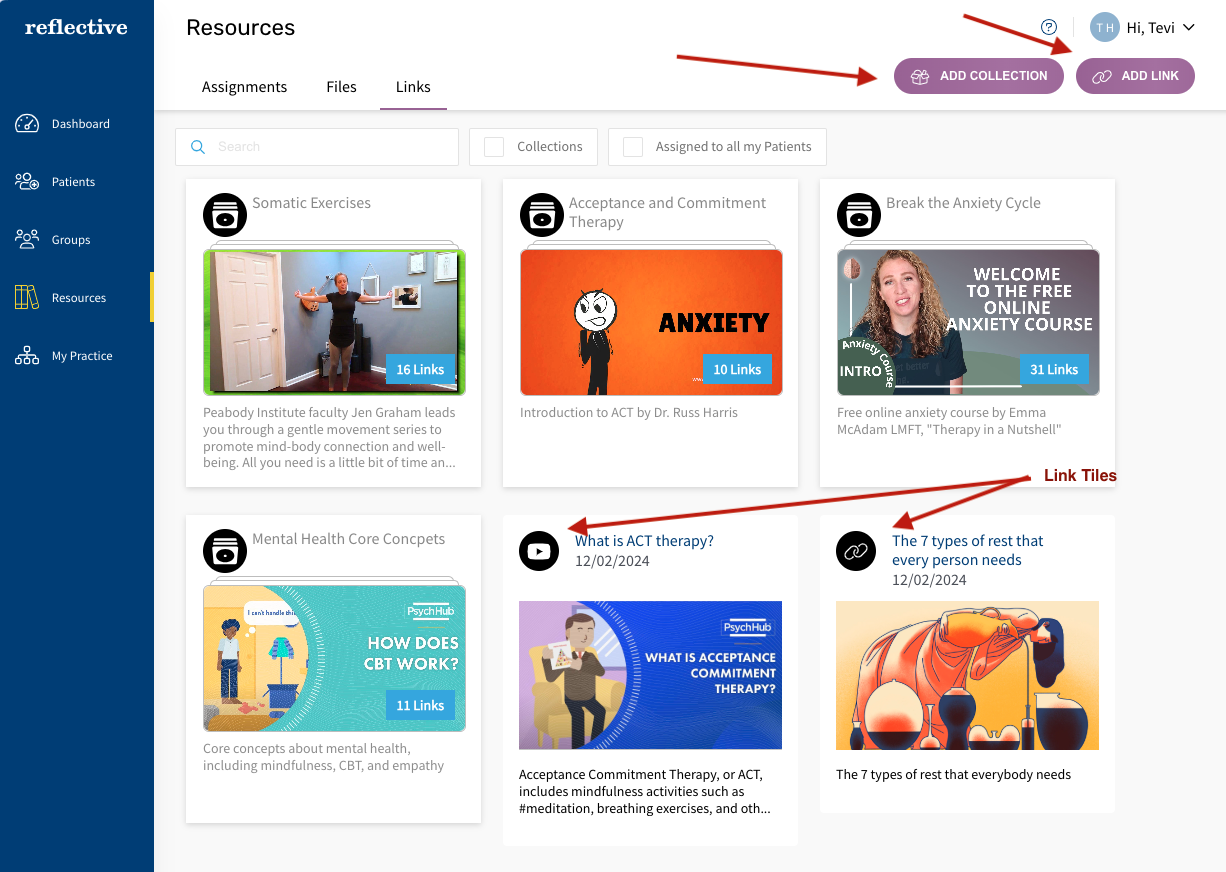
2. Select “Add Link” or “Add Collection”
You will see two buttons in the toolbar: Add Collection and Add Link.Use Add Collection to group multiple links into a single tile (e.g., a set of links about mindfulness). Use Add Link to add one standalone link tile.
Learn more about Link Collections:
3. Click “Add Link”
If you just want to add a single link, choose Add Link in the toolbar.
4. Paste the URL
In the "Add Link" side panel, enter the website address in the URL field. If available, a preview image and title will generate automatically.
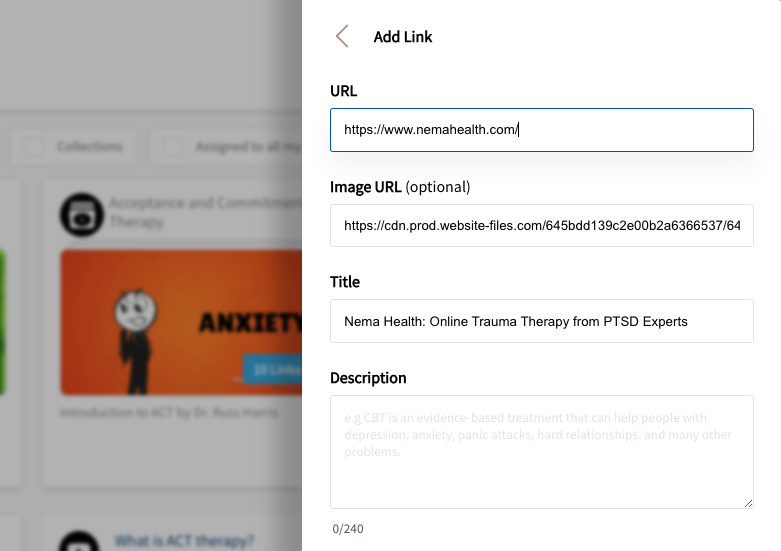
5. Enter a Title and Description
Confirm or adjust the Title so it’s clear and concise. Add a Description to give patients context. For example, “Watch this 5-minute meditation video daily to reduce stress.”
6. Assign the Link (Optional)
Choose which patients should immediately have access to the link, or skip this step to assign it later. Learn more about Groups to assign resources to your group therapy patients. Patients will find the link under their Resources tab in the mobile app.

7. Click “Add Link”
After reviewing your entries, click Add Link to save it. The link tile is now visible in your Links tab.
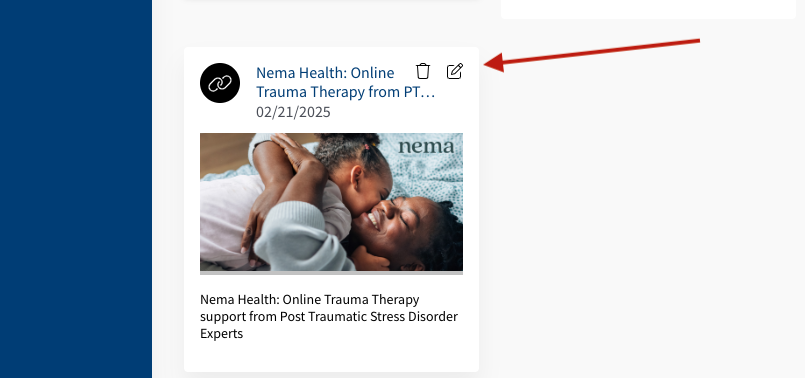
8. Edit or Delete a Link
Hover over the link tile to see action icons in the top-right corner. Click the pencil icon to edit (update URL, title, or description), or the trash bin icon to delete the link from your Resource Library and all assigned patients.
9. Search for Links
Use the Search field at the top of the Links tab to quickly locate any link by its title or a keyword.
Tips for Adding Links
- Use relevant preview images or titles to catch the patient’s attention.
- Provide brief, clear descriptions to explain why the link is helpful. Think about keywords to use so you can search find these links later.
- Group similar links into Collections (e.g., “Mindfulness Resources”) to keep your library well-organized.
Summary
Your Resource Library is a powerful tool to store and share valuable materials with your patients. By keeping everything in one place, you can:
- Quickly assign resources when topics arise in therapy
- Maintain a curated list of evidence-based materials
- Provide patients with easy access to important documents and links in their mobile app
As you build up your library of files and links, assigning them will become a seamless part of your patient engagement process.