Want to make it easy for your clients and patients to connect with you on Reflective? Want to skip the tedious step of filling in their information, and eliminate any potential confusion of them looking for the invite email which may get stuck in their Spam folder?
Simply print out the QR code and have it conveniently accessible in your office for clients and patients to scan. Alternatively, after generating the code, you can share the link with them via Email, WhatsApp, or whatever messaging service you choose. They'll be able to sign up, and then automatically be connected to you.
Once they're signed up, they'll appear in your "Patients" table and you can add assignments and resources for them from there.
Accessing the User Menu
The Invite Code settings are located in User Settings, which can be accessed from the User Menu. Access the user menu from the top right in the top navigation bar on desktop. There are two options in the user menu:
- Settings
- Log out

Settings
Click "Settings" to access user settings. You'll see a red dot by the Settings menu item if there's missing information for you to fill in.
When in the user settings, there are 5 menu tabs:
- Account
- Therapist Profile
- Practice Information
- Invite Code
- Subscription
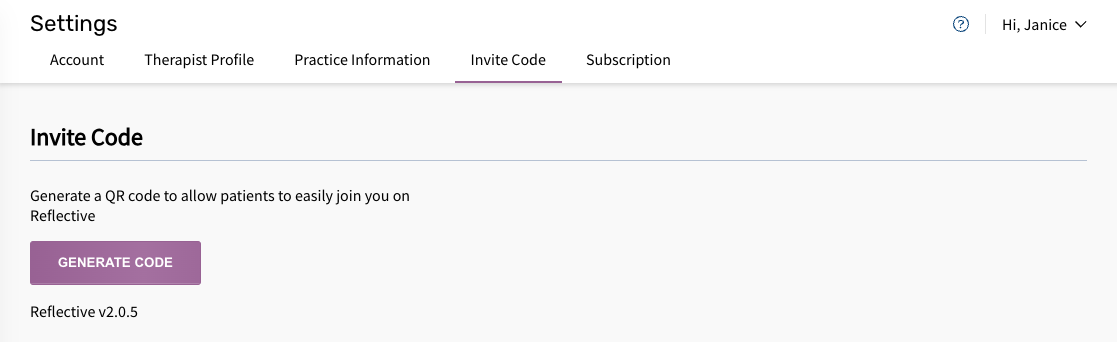
Go to the "Invite Code" tab in the user settings.
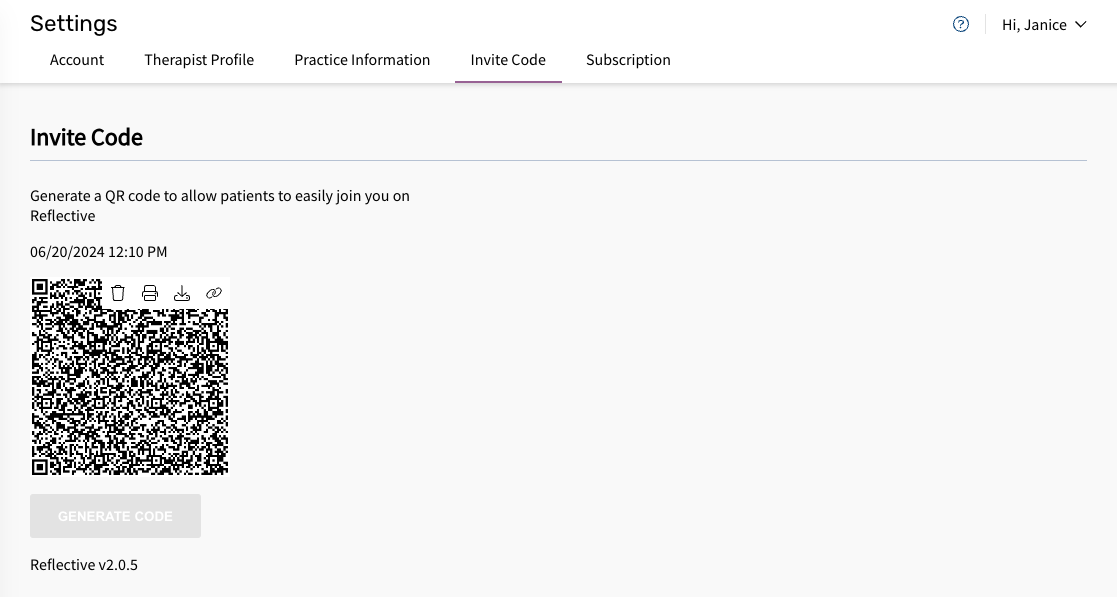
Invite Code
To use QR codes, click the "Generate Code" button.
Once a QR code has been generated you have 4 options which are visible when you move your mouse over the code image:
- Delete (trash bin icon): Deletes the QR code. This can be helpful in situations where you don't want your old code to be active any more and want to start fresh with a new one.
- Print (printer icon): Let's your print out the QR code to place in a physical location for your clients and patients to scan with their phones. The print version includes a description of what this is about, as well your email address.
- Download (save-to-disk icon): This downloads a PNG to your drive which you may choose to include on intake forms or other print materials.
- Link (chain icon): This copies a link to your clipboard which you can paste into a message to share with clients. For example, you can include this URL in a welcome email clients receive after submitting an intake form. This link will let them click directly to connect with you, or scan the QR code, depending on the device they're using when they open the link.