Groups allow you to create and manage therapy sessions with patients and other facilitators. Each patient will see group-related assignments in their mobile app, clearly labeled so they know which assignments come from a specific group. Any homework, exercises, or resources you add to a group are automatically shared with every member.
Steps to Add a Group
1. Access the "Groups" Section
From the main navigation, go to the Groups section to view and manage all your existing groups.

2. Click "Add Group"
Select the Add Group button in the header bar.

3. Enter Group Details
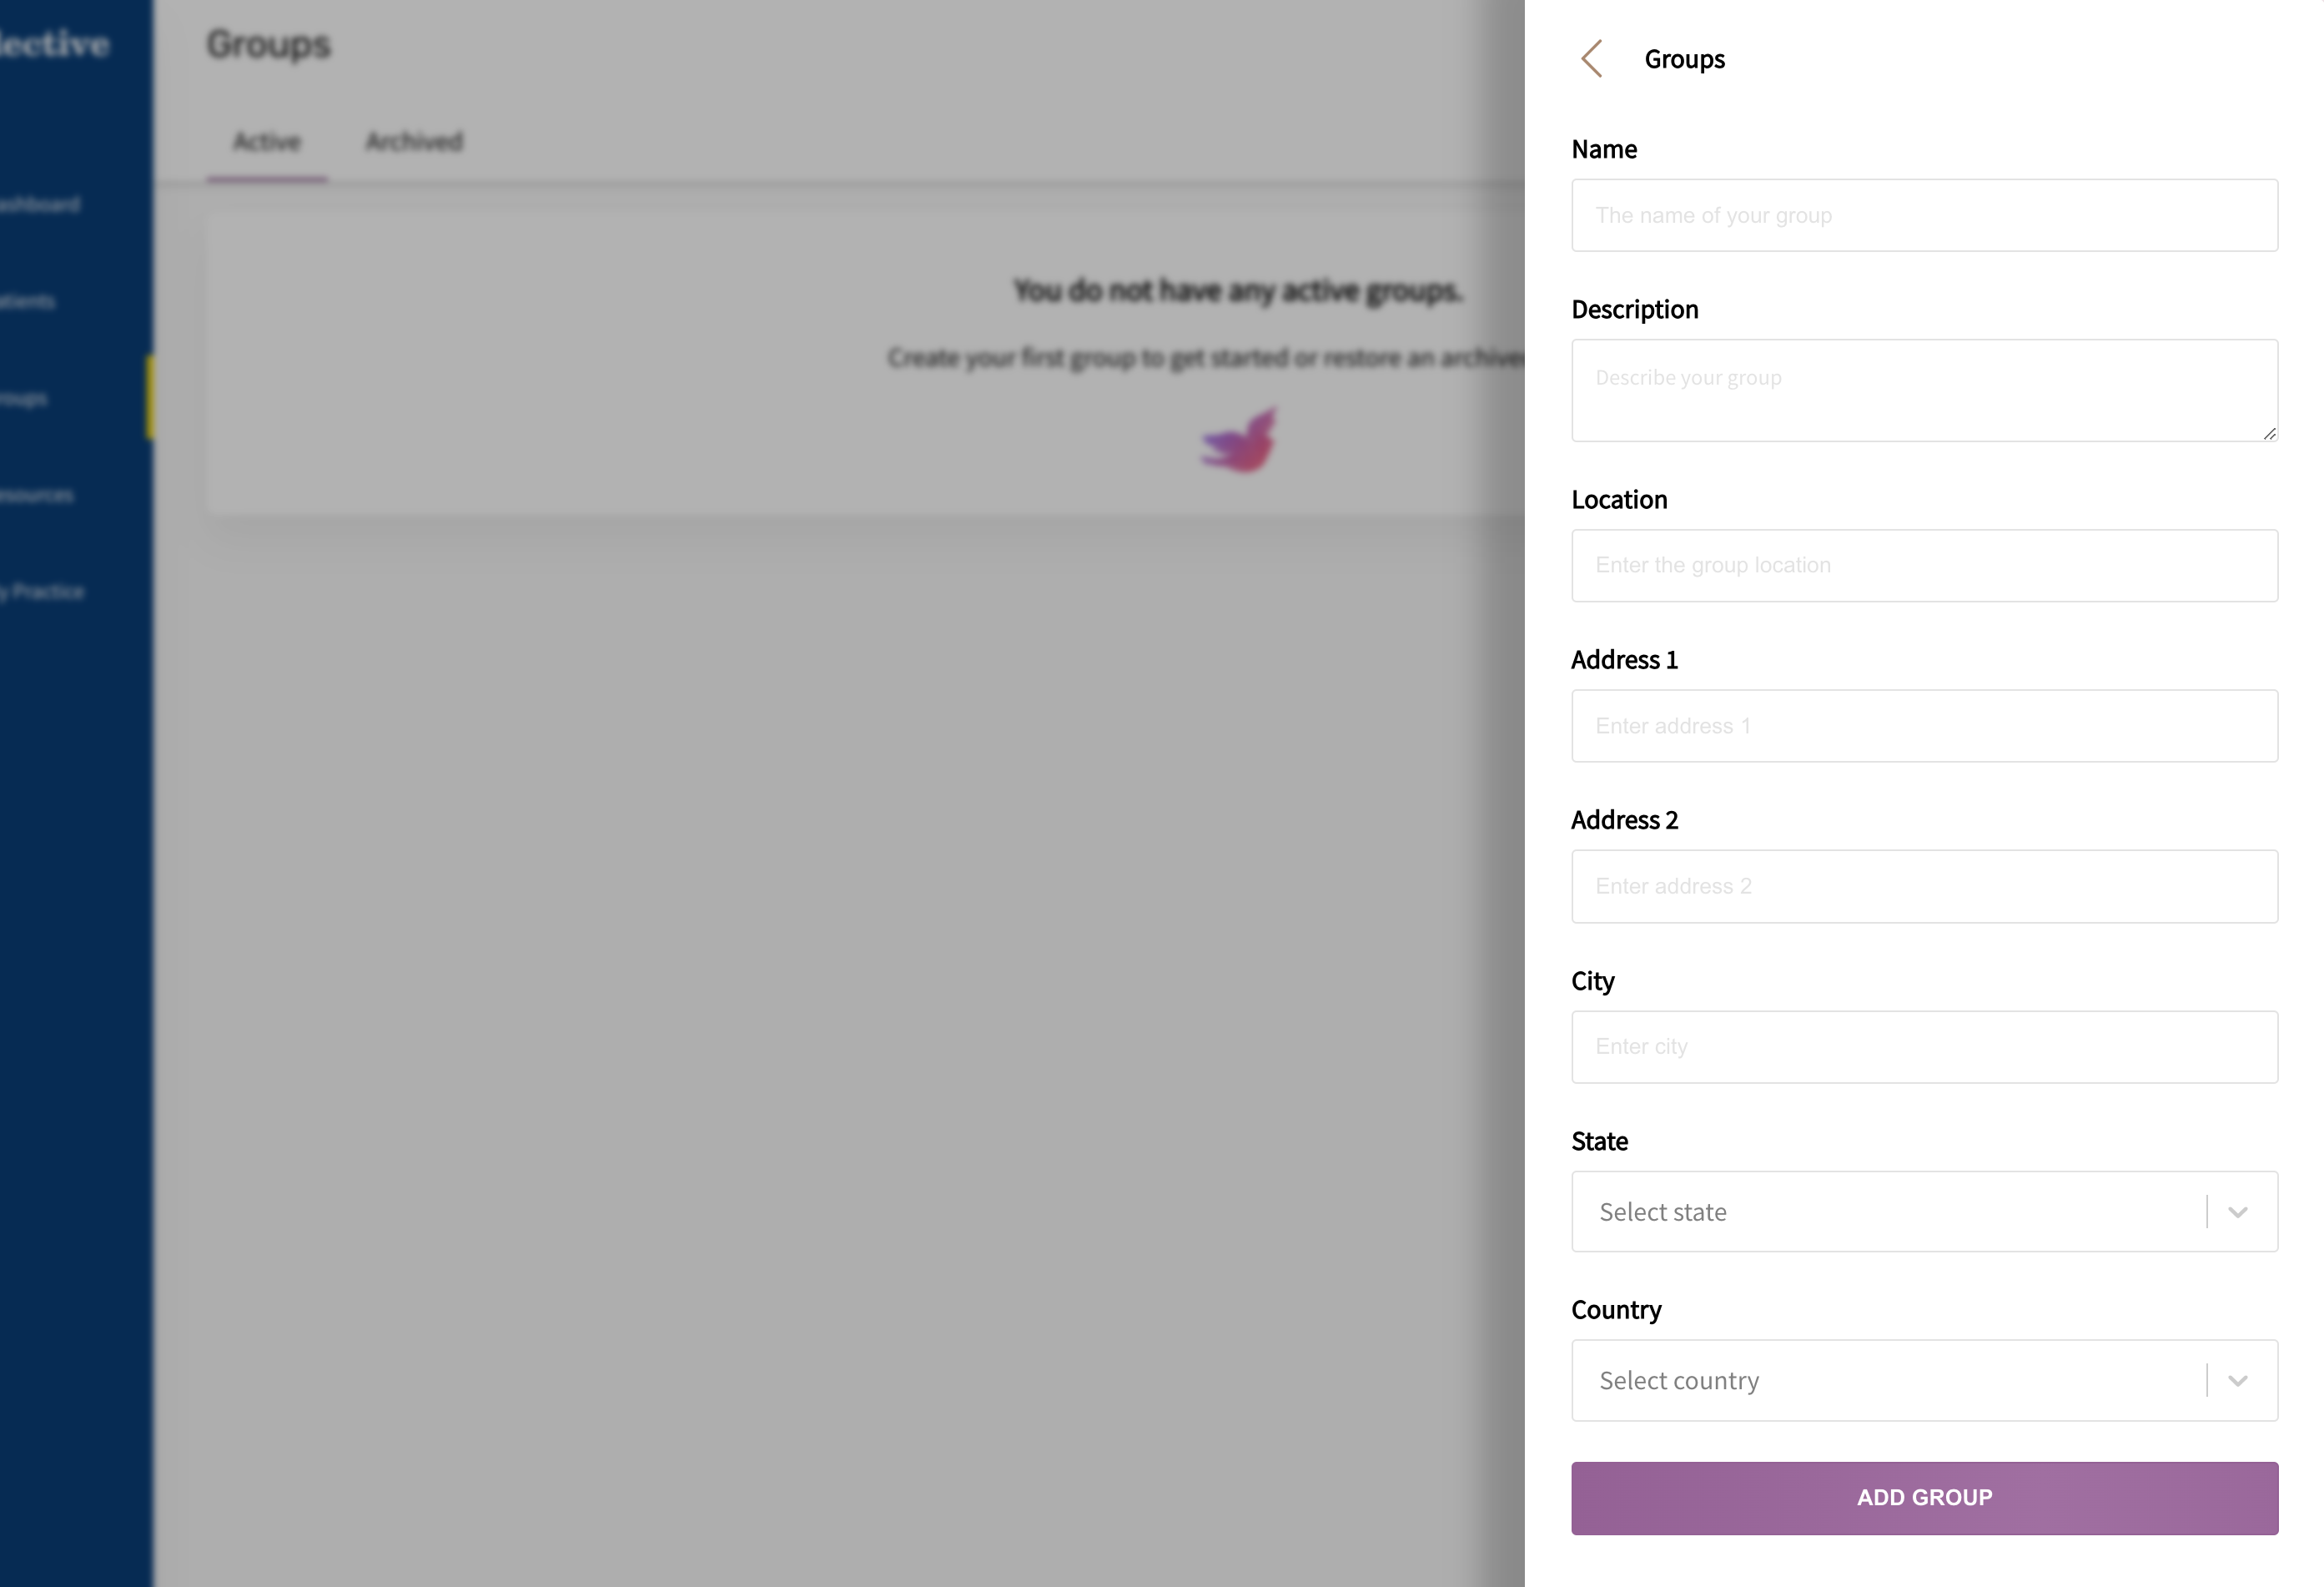
- Provide the Name (required) and any additional details such as Description, Location, Address 1, Address 2, City, State, and Country.
- Click "Add Group" to finalize the new group.

4. Edit Group Information (Optional)
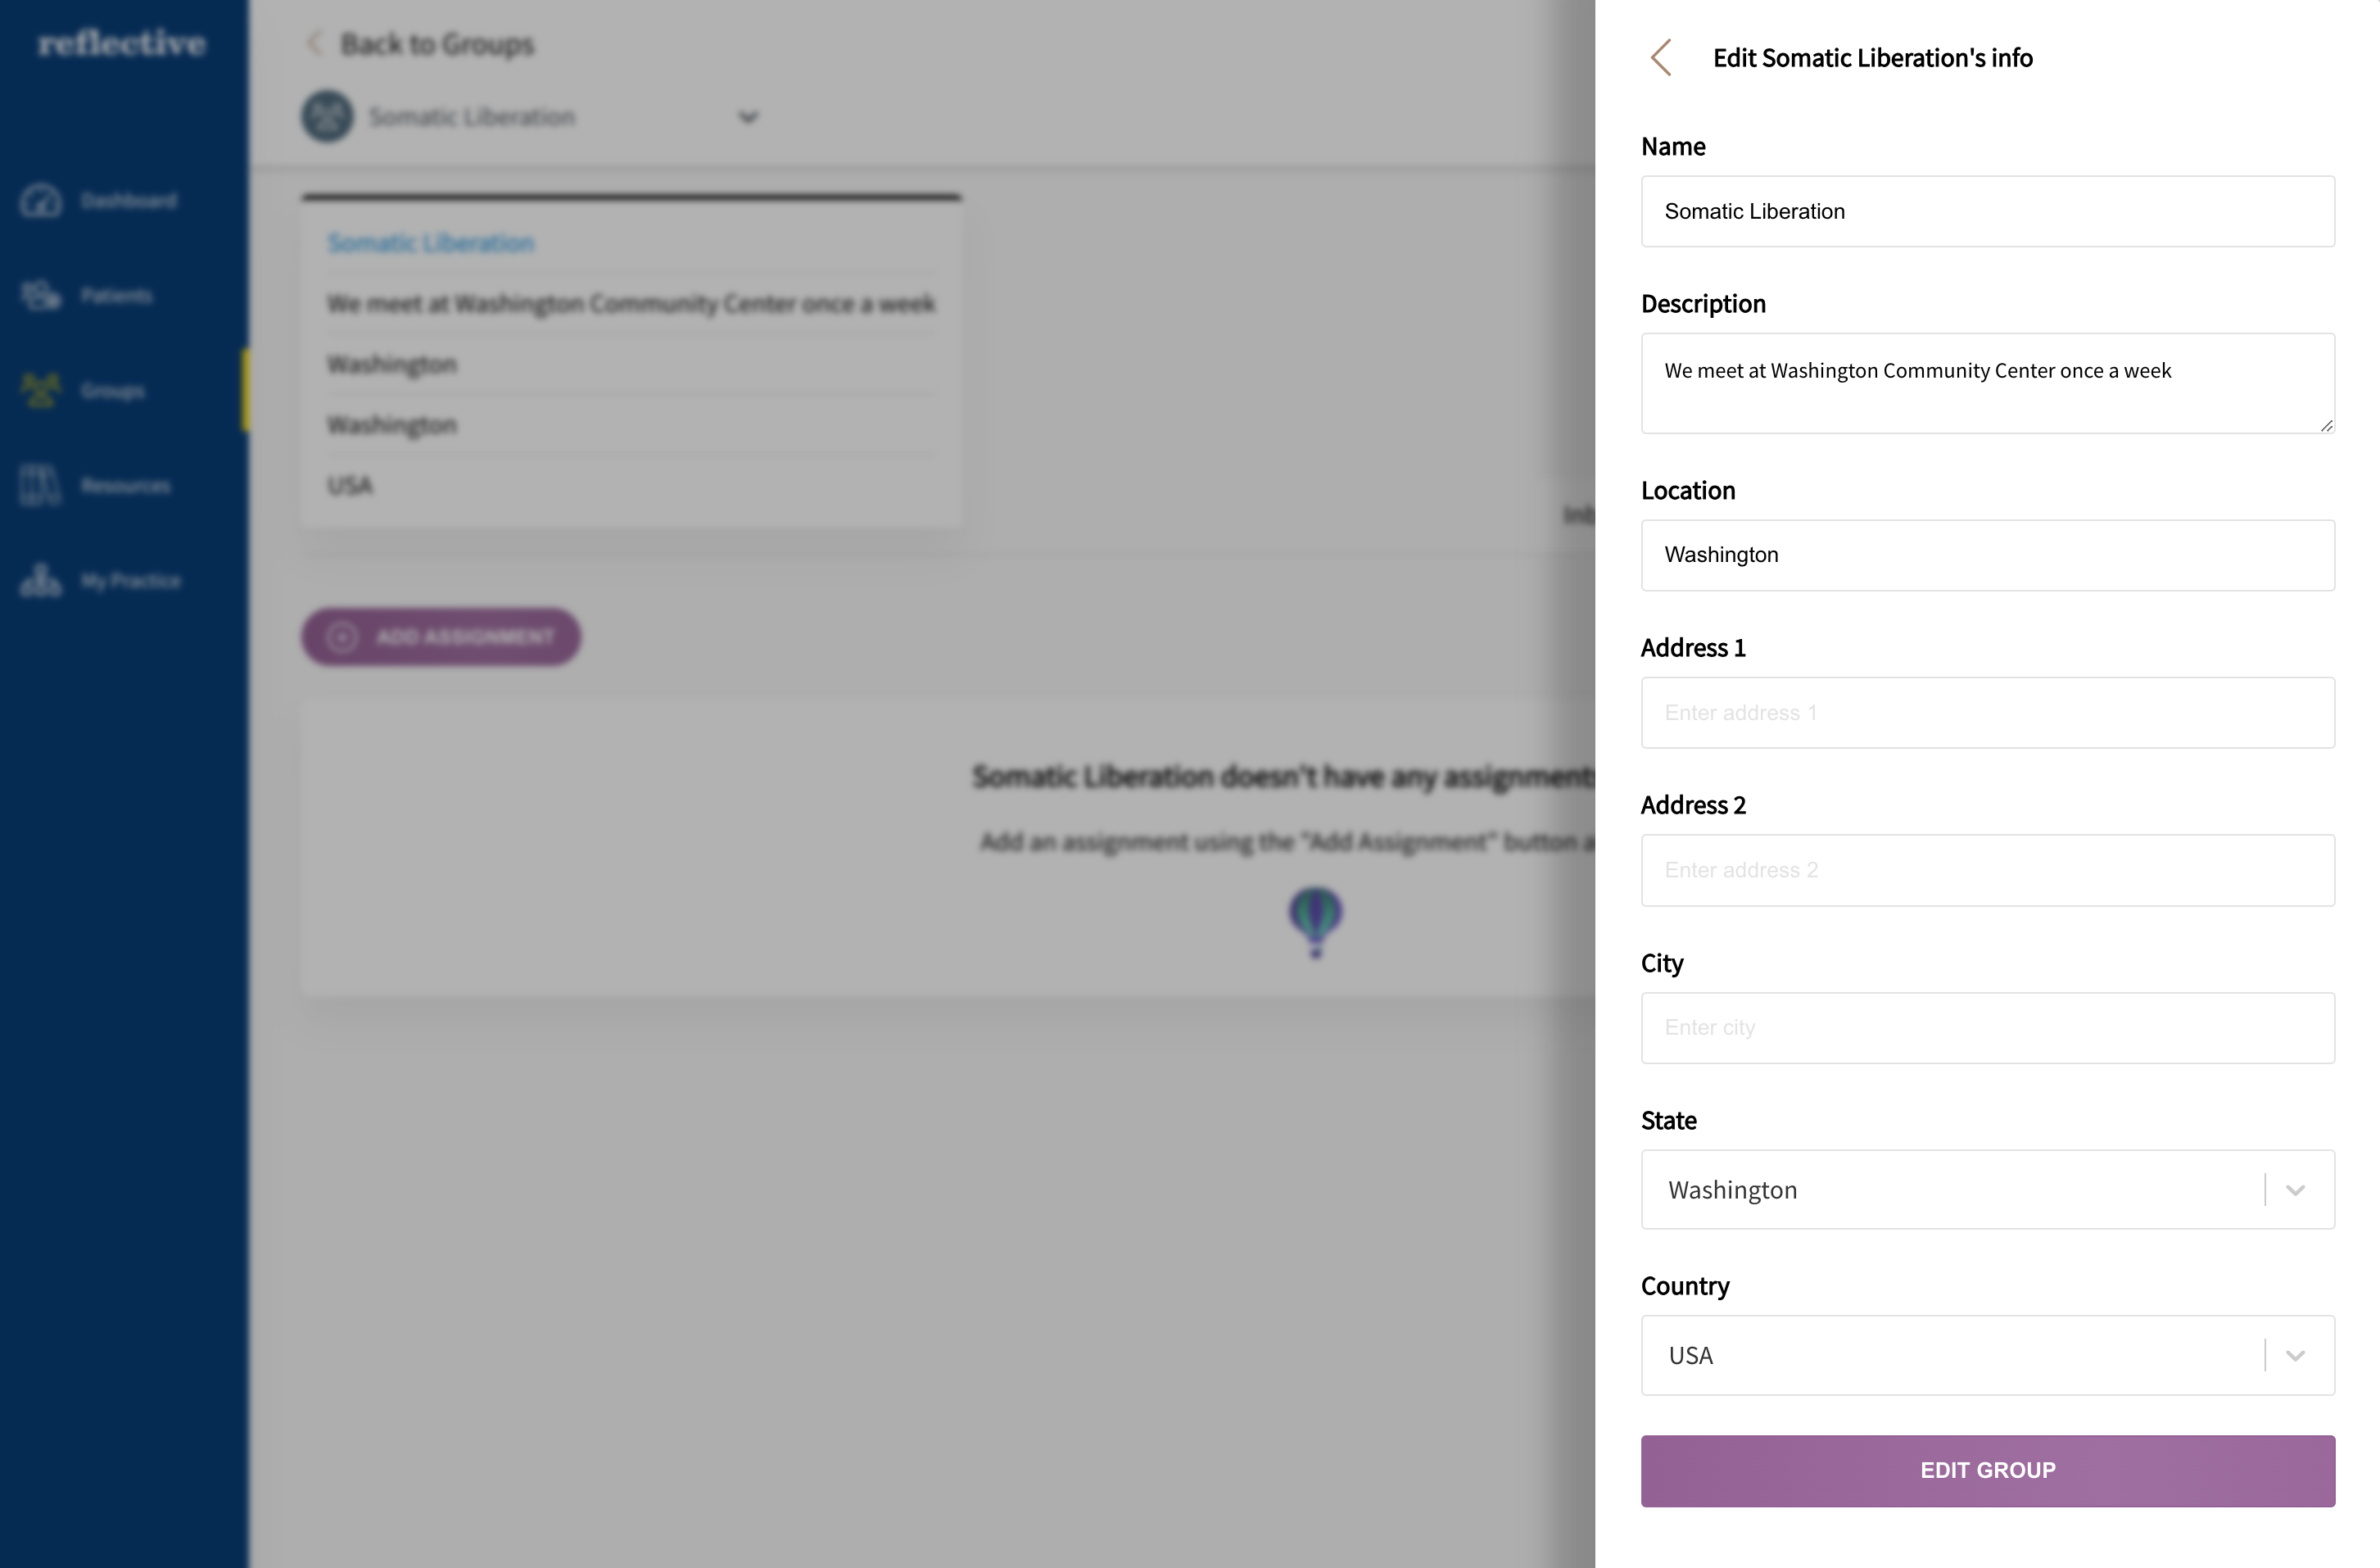
Once the group is created, click Edit in the header bar to update the group name, description, or any other details.


Header Bar Options
Once you’ve added a group, you’ll notice several options in the header bar:
- Edit: Update group name, description, location, etc.
- Invite: Send invitations to members or additional facilitators.
- Share: Share group details or links.
- Overflow Menu: (Indicated by icon of three dots) access Archive or Delete to manage the group's status.

Group Tabs
A newly created group contains several tabs to help you organize and manage your sessions effectively:
- Inbox: View submissions from group members.
- Workbook: Create and assign homework and exercises for all group members.
- Members: Invite and manage therapists/facilitators, and group members.
- Notes: Keep private notes that only facilitators can access.
- Resources: Upload and organize files, links, and collections for group members to access on their apps.

You have now successfully created and configured a new group. Next, you can start inviting members, adding workbook assignments, and sharing resources to help facilitate therapy sessions.